A DIY Guide to Building a Stylish Transparent Clock:
Hey everyone, in today's article, I'll be sharing my journey of creating a unique transparent clock. Before we dive into the details, let me give you some insight into how this idea originated. Despite the rapid advancements in technology, my house still sports a classic analog clock, and in a few rooms, a digital one. However, I wanted something distinct for my desk – a transparent clock that would set my workspace apart. After brainstorming for a while, I had an epiphany – why not craft a transparent clock myself?
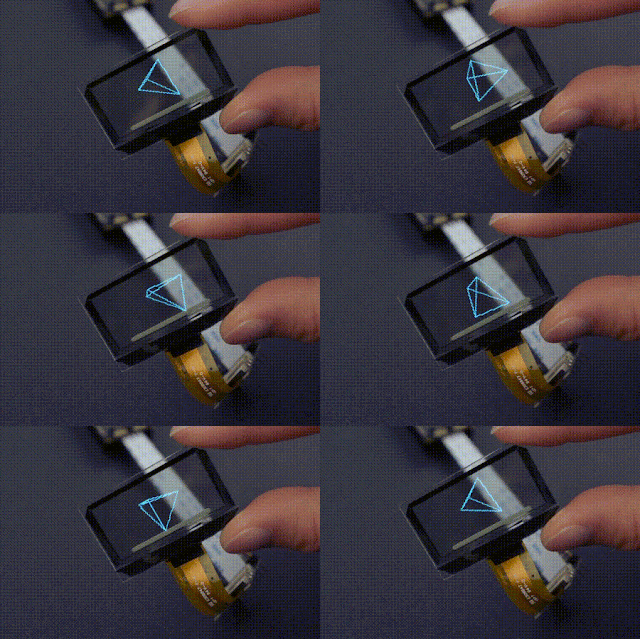
Before we delve into the nitty-gritty, let me briefly explain how I brought this transparent clock to life. Creating a clock with 100% visible digital transparency proved to be a formidable challenge, at least for me. After several hours of contemplation and research, I stumbled upon the solution – a transparent OLED Display by DF Robot
Introducing the Transparent OLED Display:
I came across a remarkable 1.51” SSD1309 transparent monochrome OLED display (light blue) along with a converter from DF Robot.
This display boasts a resolution of 128×64, with a transparent area measuring 128×56 (a small non-transparent section near the pins can still display content). The full-view, blue display caught my attention.
Essential Components:
To bring this transparent clock to life, I gathered the necessary components. First and foremost, an OLED transparent display with a converter was essential. For the brain of the operation, I opted for an Arduino Nano. Why the Nano? Its compact form aligns with my project's requirements. Lastly, the Real Time Clock (RTC) module played a crucial role. As its name suggests, the RTC ensures accurate timekeeping.
For those aiming for a sleeker design, a custom PCB would be ideal. While I'm currently building this clock on a breadboard due to time constraints, I plan to design a custom PCB using EasyEDA in the near future. Once the PCB design is ready, I'll place an order through my favorite platform, JLCPCB.
A Word from Our Sponsor:
Before proceeding, I'd like to extend a word of gratitude to our sponsor, JLCPCB. Transform your project dreams into reality with JLCPCB – the leading PCB company in China. They offer exceptional 1-8 Layer PCBs starting at just $2, along with unbeatable PCBA services for $0 (including free setup and stencil). By registering through my link, you'll also receive a generous $54 new user coupon code to fuel your creativity. Check it out: JLCPCB
Wiring the Transparent Clock:
To simplify the wiring process, I've provided a schematic diagram below.
Furthermore, ensure you download the required library files – `Adafruit_GFX.h`, `Adafruit_SSD1306.h`, and `uRTCLib.h` – before proceeding to upload the Code. Once you have all the libraries, you're ready to upload the code and experience your transparent clock in action. Enjoy the process!
Exploring the Visual Guide:
To provide a visual guide, I've created a video detailing the clock-making process.
I'd love to hear your thoughts on this unique transparent clock project. Did the idea resonate with you? Feel free to share your insights in the comment section 🎁. If you have any questions, don't hesitate to ask. Thank you for investing your valuable time.
Please let me know if there are any additional changes or improvements you'd like to make!


.gif)

Post a Comment
Post a Comment